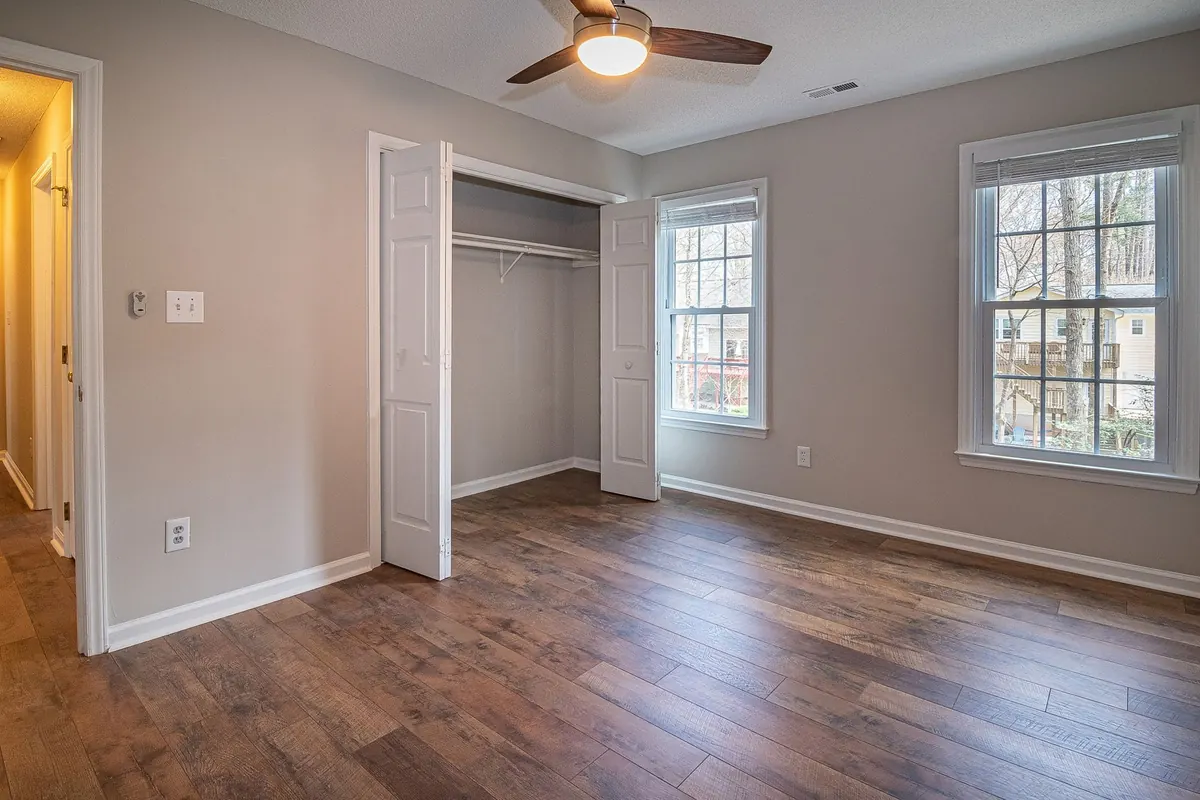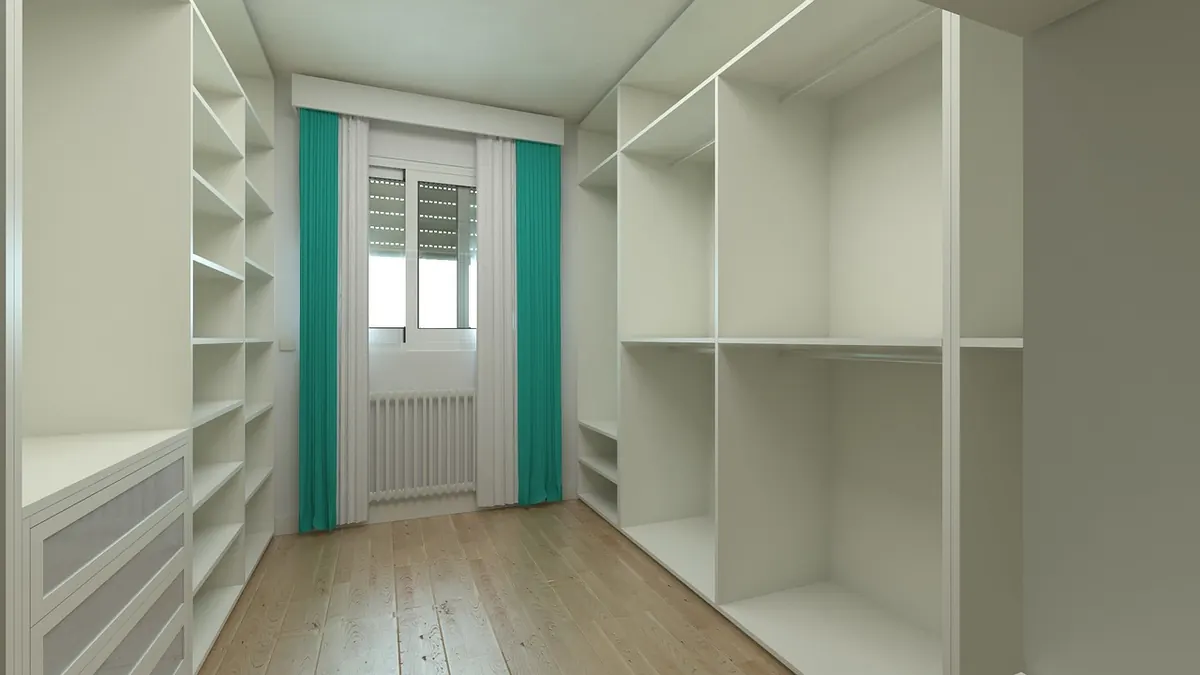
A hallway closet is one of the hardest-working spaces in a home, and usually one of the worst-treated. It swallows coats, bags, school folders, sports gear, extra toilet paper, and the vacuum, then refuses to close properly. The good news: it is small enough to fix in two days, and the fix does not require a contractor, a custom system, or a big budget.
Set aside a Saturday and part of a Sunday. Work in the order below and resist the urge to skip ahead to buying bins. Sorting first and shopping second is what keeps this project from becoming another pile of mismatched containers.
Gather everything you need in the hallway so you are not running to the garage mid-project. You likely already own most of it:
Measure the closet's interior before anything goes back in: width, depth, and height, plus the width of the door opening. Also note where the door swings and whether there is a shelf and rod already. Those numbers will decide what you can buy later.
Pull it all out. Yes, all of it, including the things you are sure belong there. Emptying the closet is the only way to see what you actually have and to clean the space properly.
As you remove items, do a fast first pass into three groups: keep, relocate, and let go. Be honest about the keep pile. A coat that has not been worn in two winters, a bag with a broken strap, and a single glove are not storage problems; they are decisions you have been avoiding.
Once the closet is empty, vacuum the corners and wipe down the shelves, walls, and floor. This is also the moment to check for anything that needs attention: a loose shelf bracket, a scuff that needs paint, a door that sticks. Fixing small issues now saves you from emptying the closet again in a month.
Most hallway closets fail because they are organized by category instead of by routine. A closet sorted by "all outerwear" and "all bags" fights you every morning. A closet sorted by how you actually exit the door works with you.
Stand in the hallway and think through a normal weekday departure. What do you reach for first? Usually it is a coat, keys, a bag, and shoes. Then think about what gets dumped there on the way back in: mail, reusable shopping bags, a leash, a wet umbrella.
Sort your keep pile into four rough groups:
If a group is tiny, merge it. Four zones is plenty for a small closet; five is usually one too many.
Now map the closet. The goal is to place each zone where it is easiest to reach at the moment you need it.
Reserve the prime real estate, roughly eye level to waist height near the door, for the items you touch every day. A row of hooks at adult shoulder height handles coats and bags; a second, lower row at kid height means children can hang their own things instead of dropping them on the floor. Hooks are faster than hangers for daily use, which is exactly why they work.
One open bin on a shelf, or a basket on the floor, absorbs the loose, awkward items: mittens, a leash, sunscreen, a lint roller, reusable bags. Open beats lidded here. A lid is a barrier, and barriers get ignored.
Use the highest shelf or a labeled bin for off-season gear. When you swap winter for summer, the bin moves forward and the contents change. Label the bin by season and contents so nobody has to open it to find out.
Shoes, boots, and bulky items belong on the floor. A shallow boot tray keeps wet footwear contained, and a slim rack or a simple pair of brackets keeps the vacuum from tipping. Anything you use less than once a month can go on the top shelf or toward the back.
With the layout settled, buy only what the plan calls for. A short list usually covers it:
Install hardware into studs where possible, and use appropriate anchors for the weight when you cannot. A hook that pulls out of drywall the first time someone hangs a heavy backpack is worse than no hook at all. If you are unsure about wall type or weight limits, ask someone at a hardware store or a qualified handyperson before drilling.
Then load the closet zone by zone, starting from the back and the top. Step into the hallway, close the door, and open it again. If something falls, blocks the door, or requires moving two other things to reach, rethink that spot now while the momentum is still with you.
Finish with a five-minute test. Hang a coat, drop a bag, kick off shoes, and put them away. If those four moves feel natural, the closet will hold its shape.
A hallway closet does not stay organized by willpower; it stays organized because the system matches your habits. Do a two-minute reset every Sunday evening, returning stray items to their zones. Twice a year, at the seasonal swap, pull everything out and repeat the sort. If clutter starts creeping back, it usually means a zone is in the wrong place or a bin is too full, not that you failed. Adjust one thing and give it another week.
Photo: lrainero / Pixabay